
HOW TO CREATE A LAYERED THANKSGIVING TABLE
Happy Monday Friends!
Not to stress anyone out, but…we are officially t-minus 3 days from Thanksgiving. (lol where did the year go?!) Whether you are hosting a Friendsgiving, or putting on the real turkey day, preparing to host family or friends can be stressful. To help with this, I always set the table a day, if not two days before we have people over.
Setting the holiday table has become a special tradition for me. Mainly because, this was how I got interested in Design many years ago. At the Thornhill house, my mother has all of the Southern Living Catalogue “circa 2000” buried in our basement. Starting around when I was 8, my mother would always ask me to help her decorate the house and setting the dining table for the holidays. This quickly developed from me serving as her decorating wing-man, to me taking over the whole operation. Needless to say, I have slowly become a novice at throwing together a good Thanksgiving table…
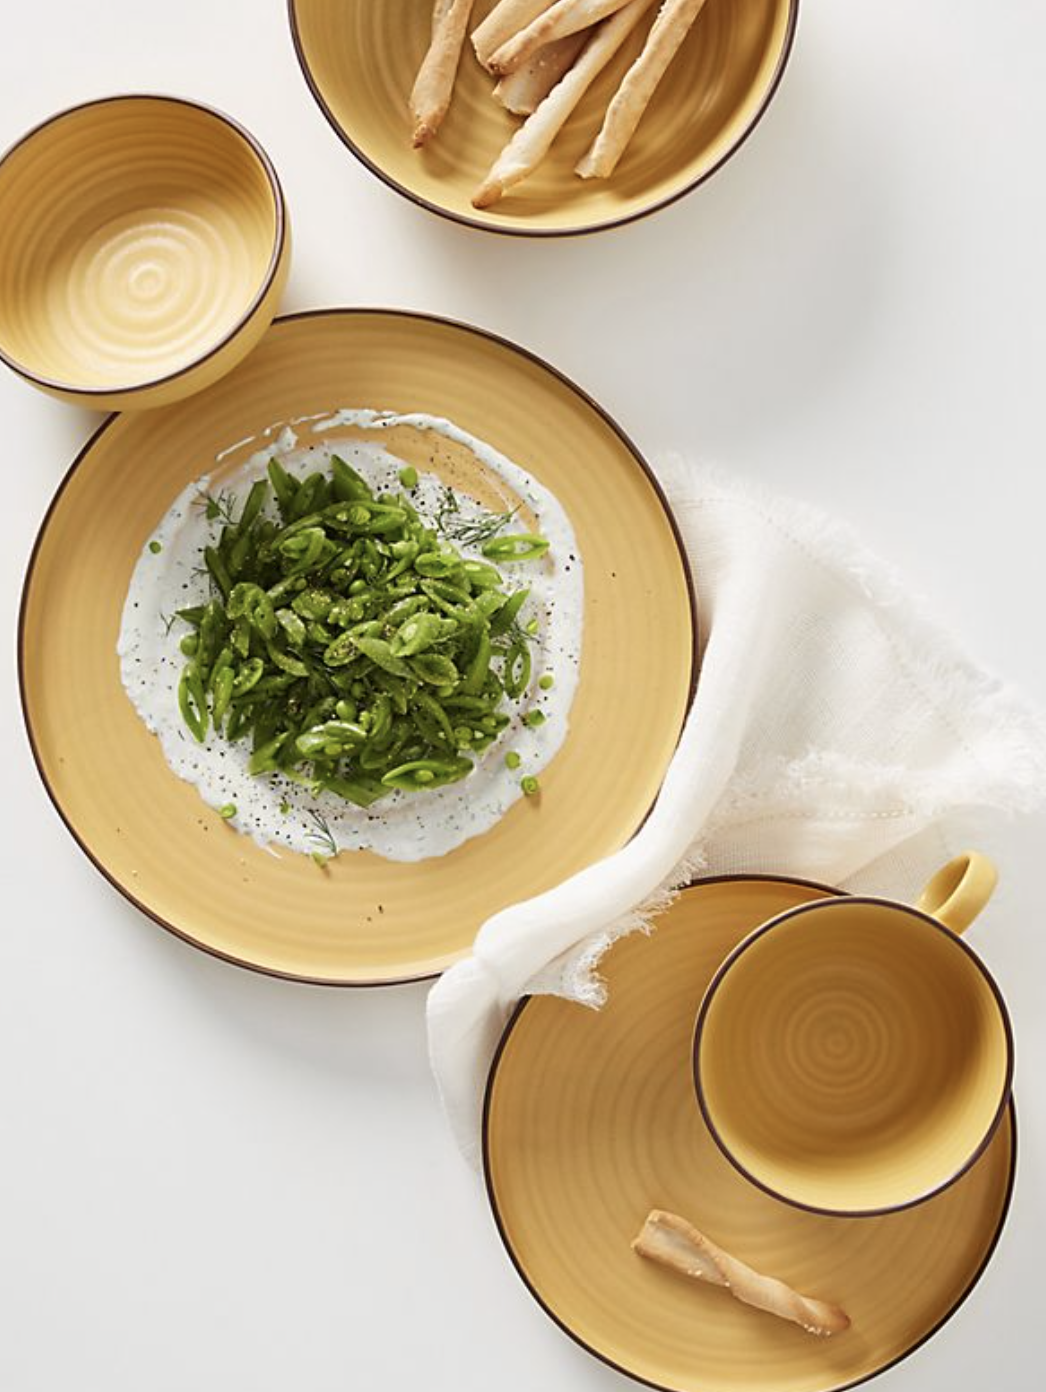
Here is a look at our table setting for our most recent Friendsgiving party. I was able to put together this setting for under $50. I also am sharing some more resources behind this look + other options to help you create your own layered Thanksgiving table setting.

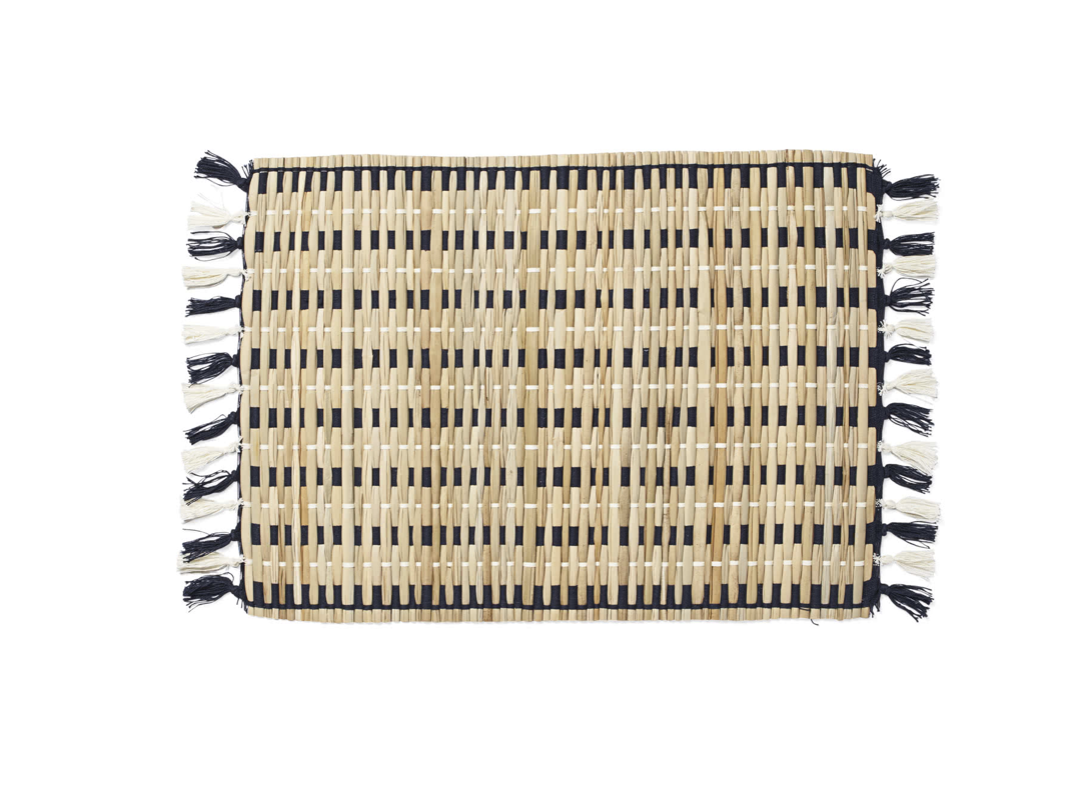
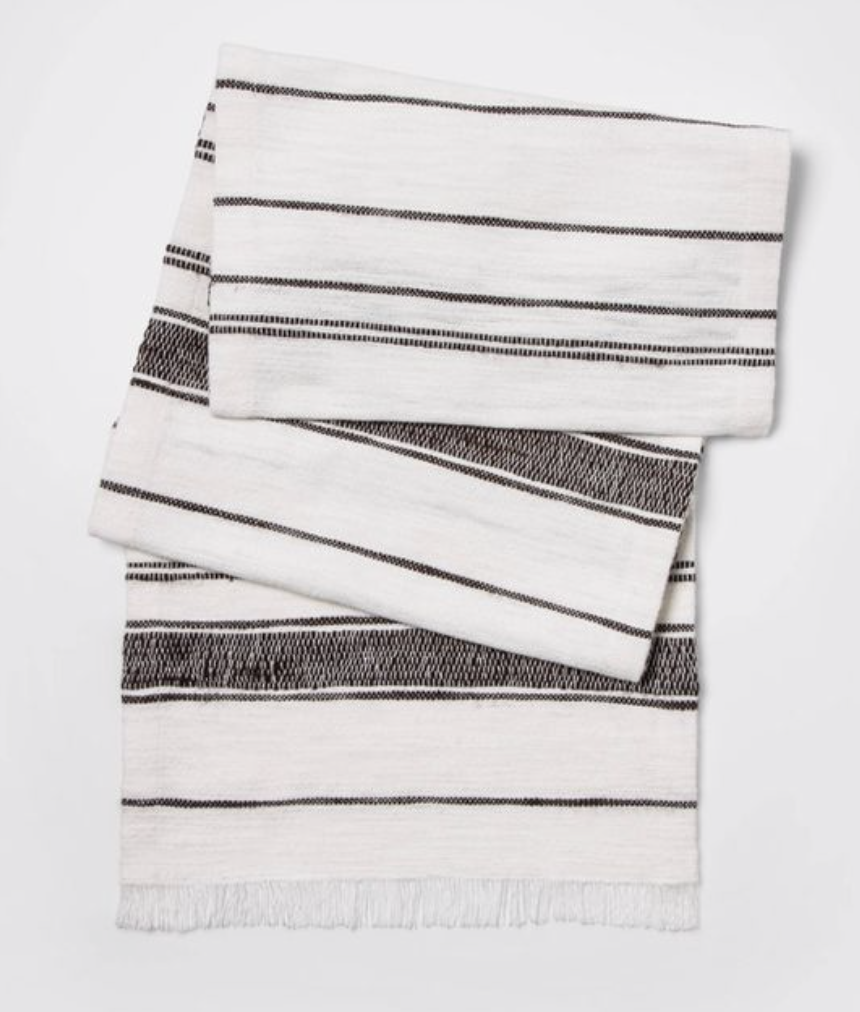
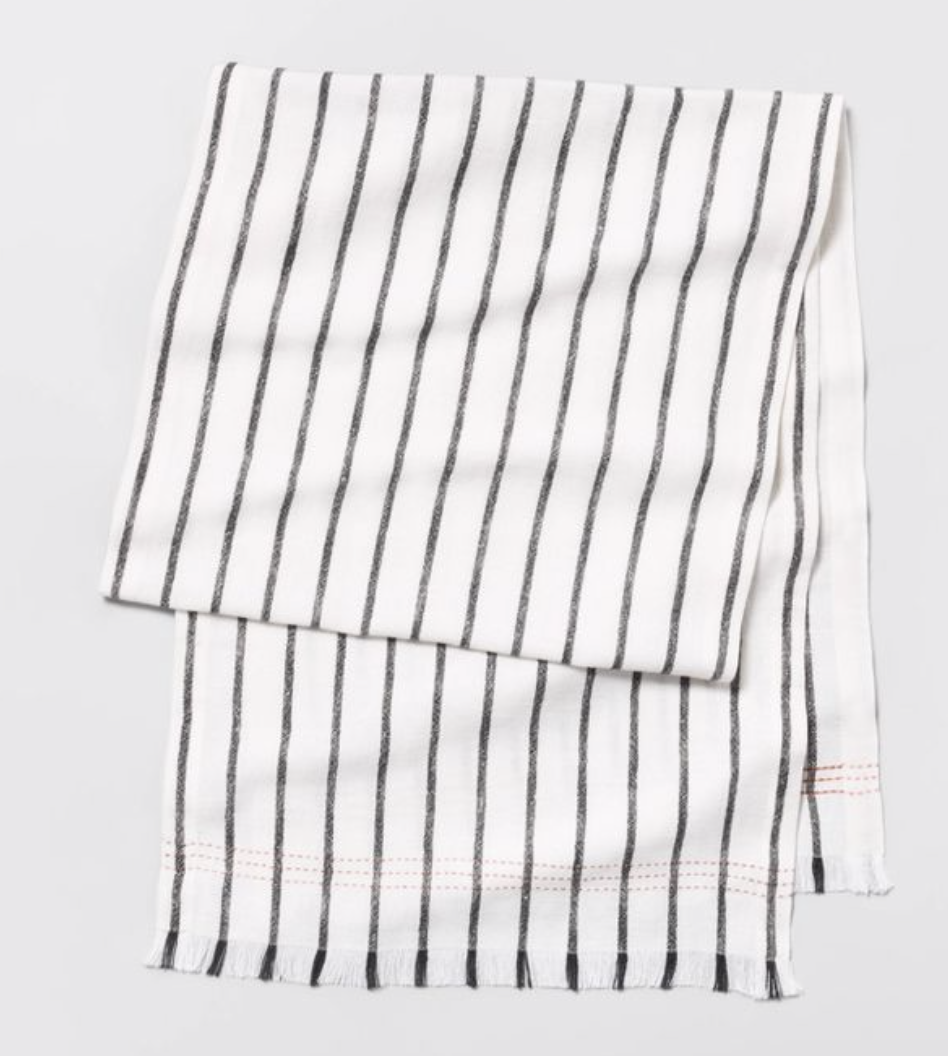
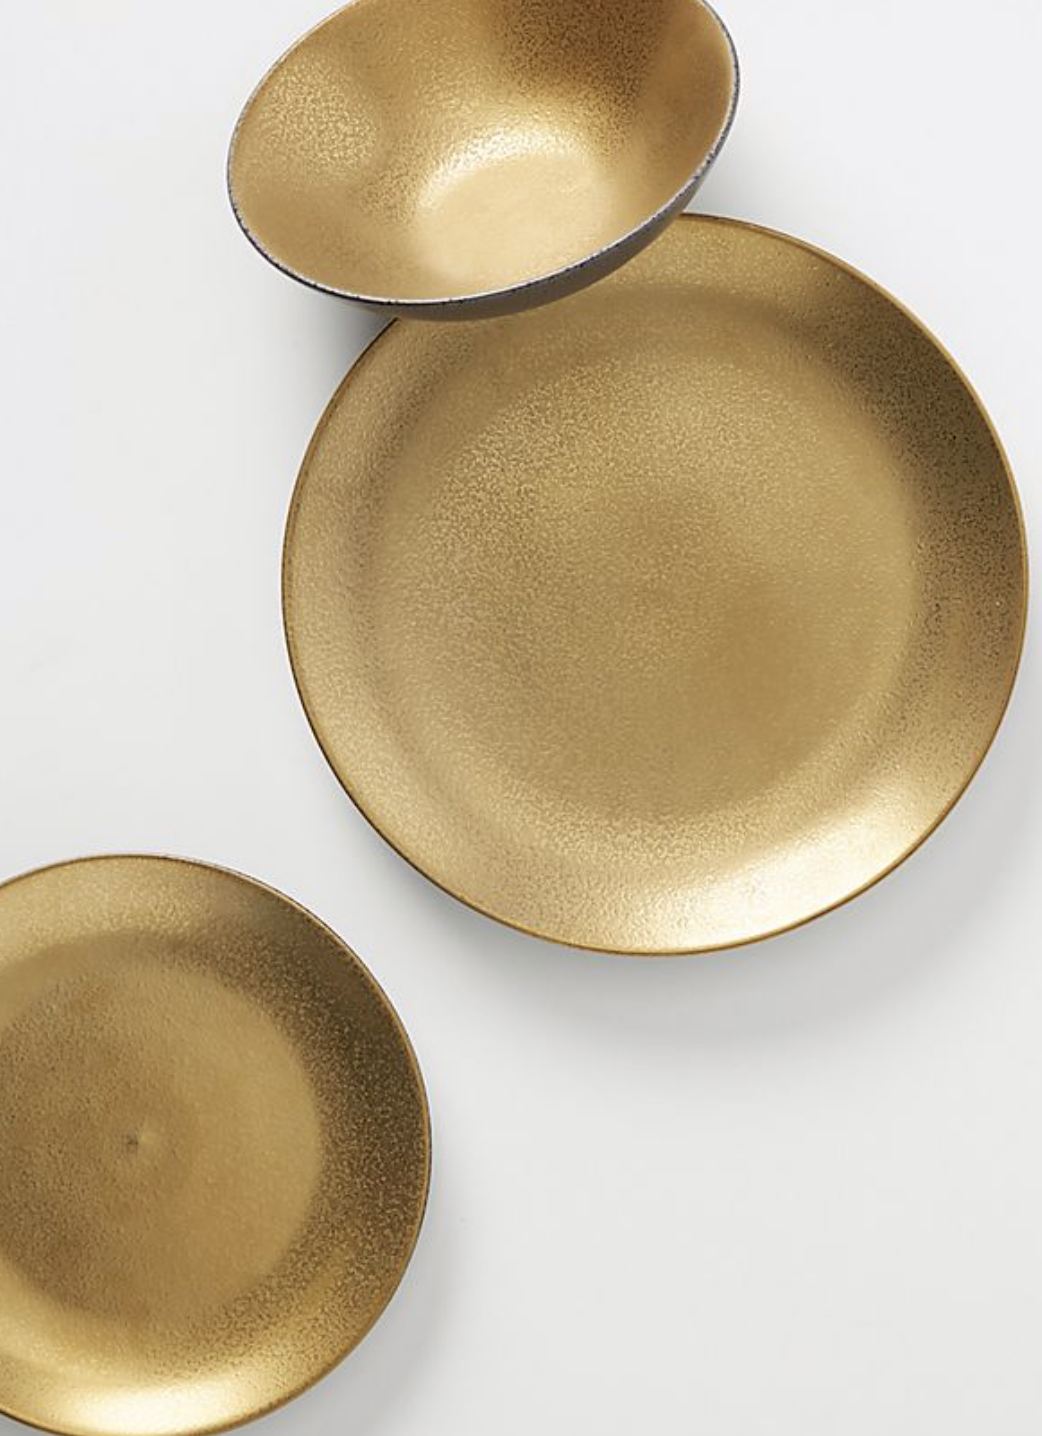
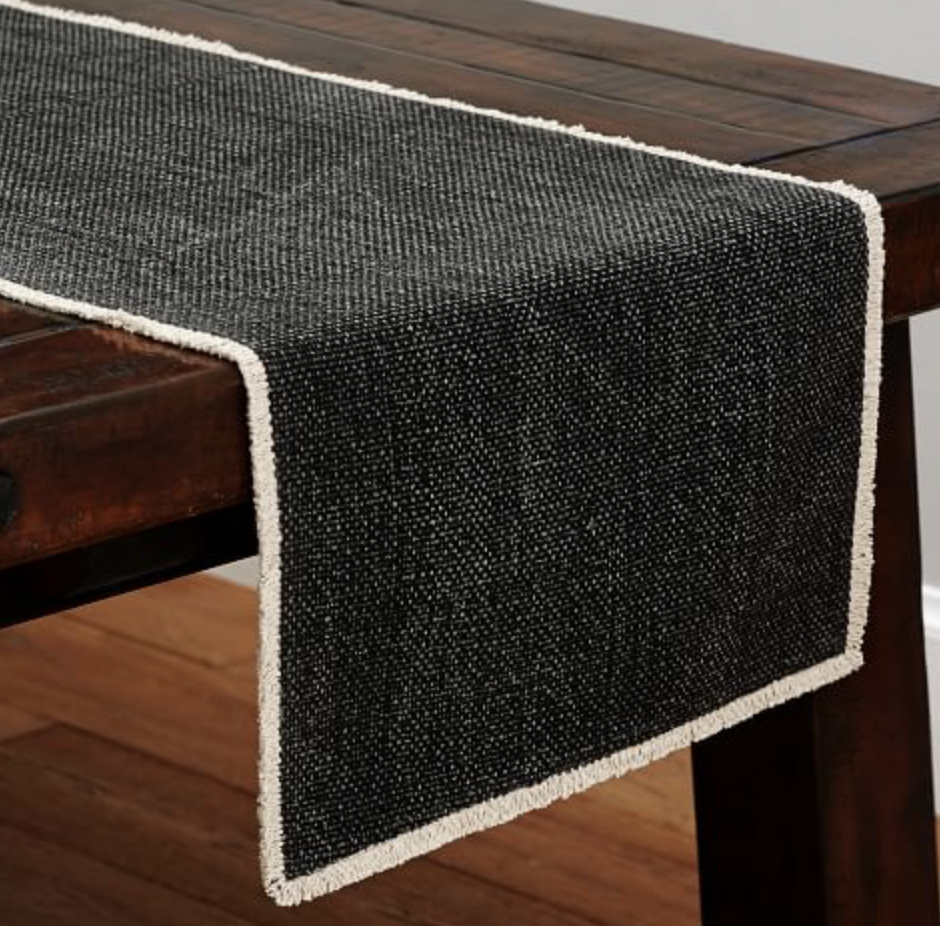
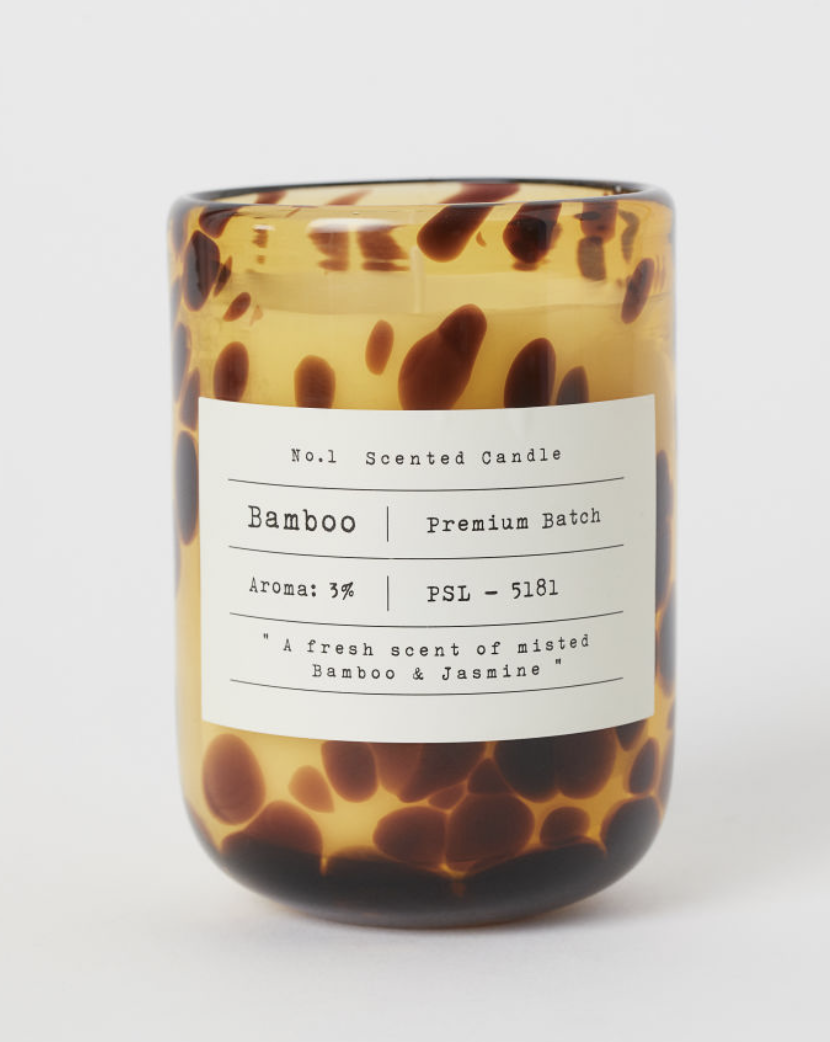
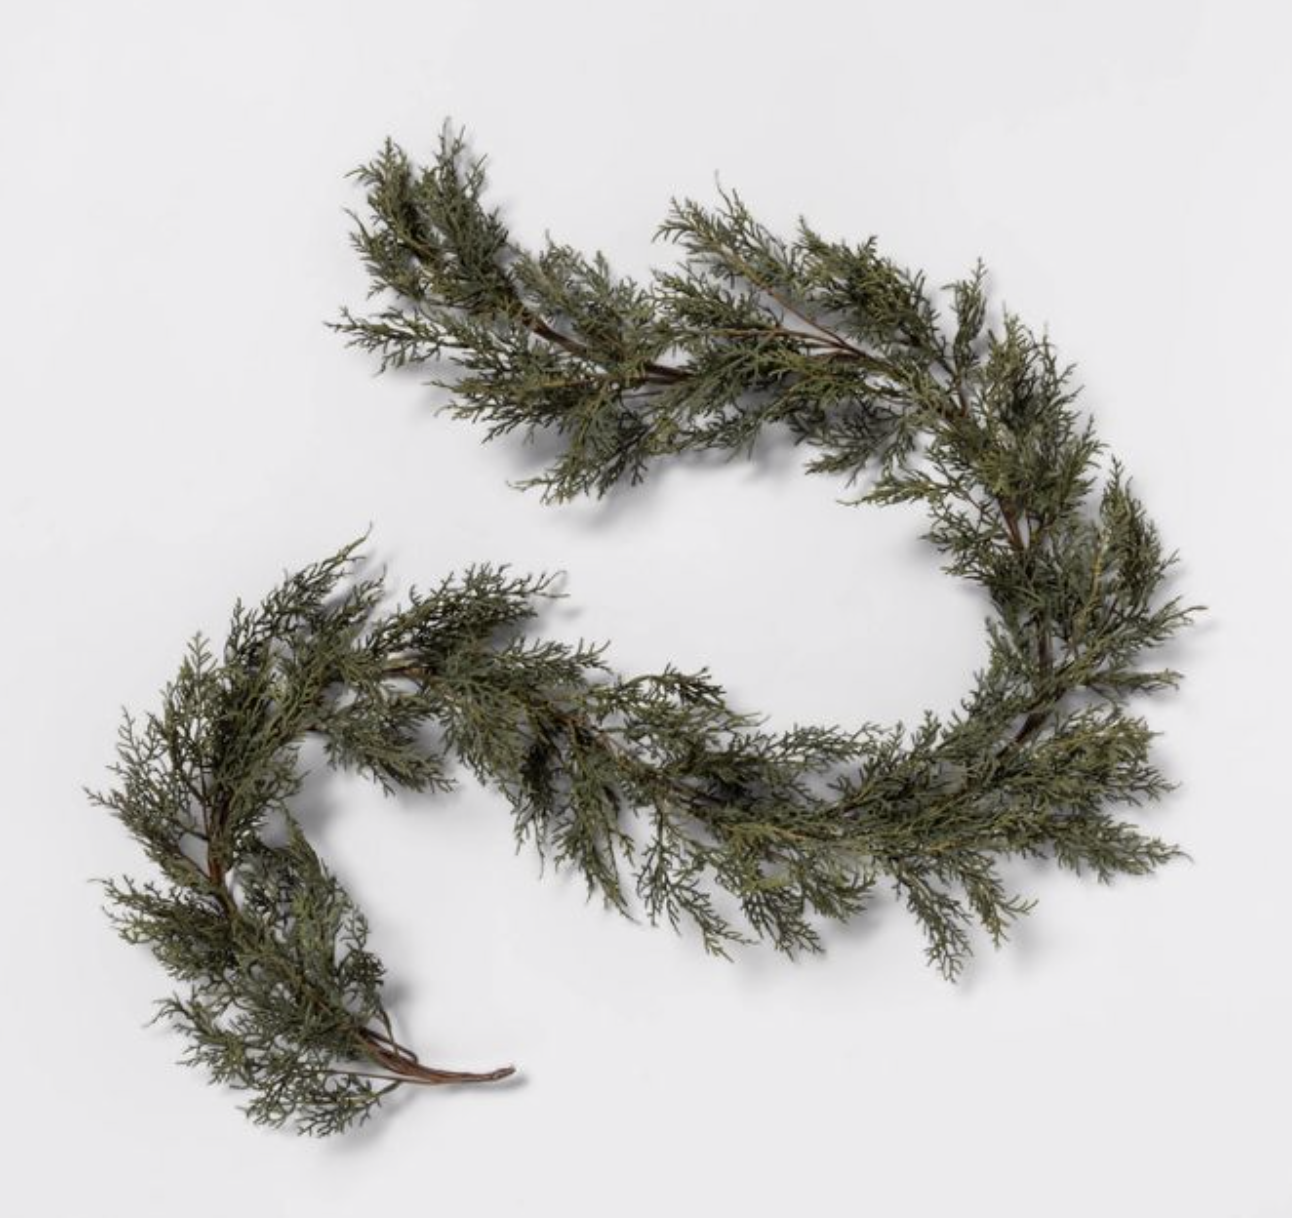
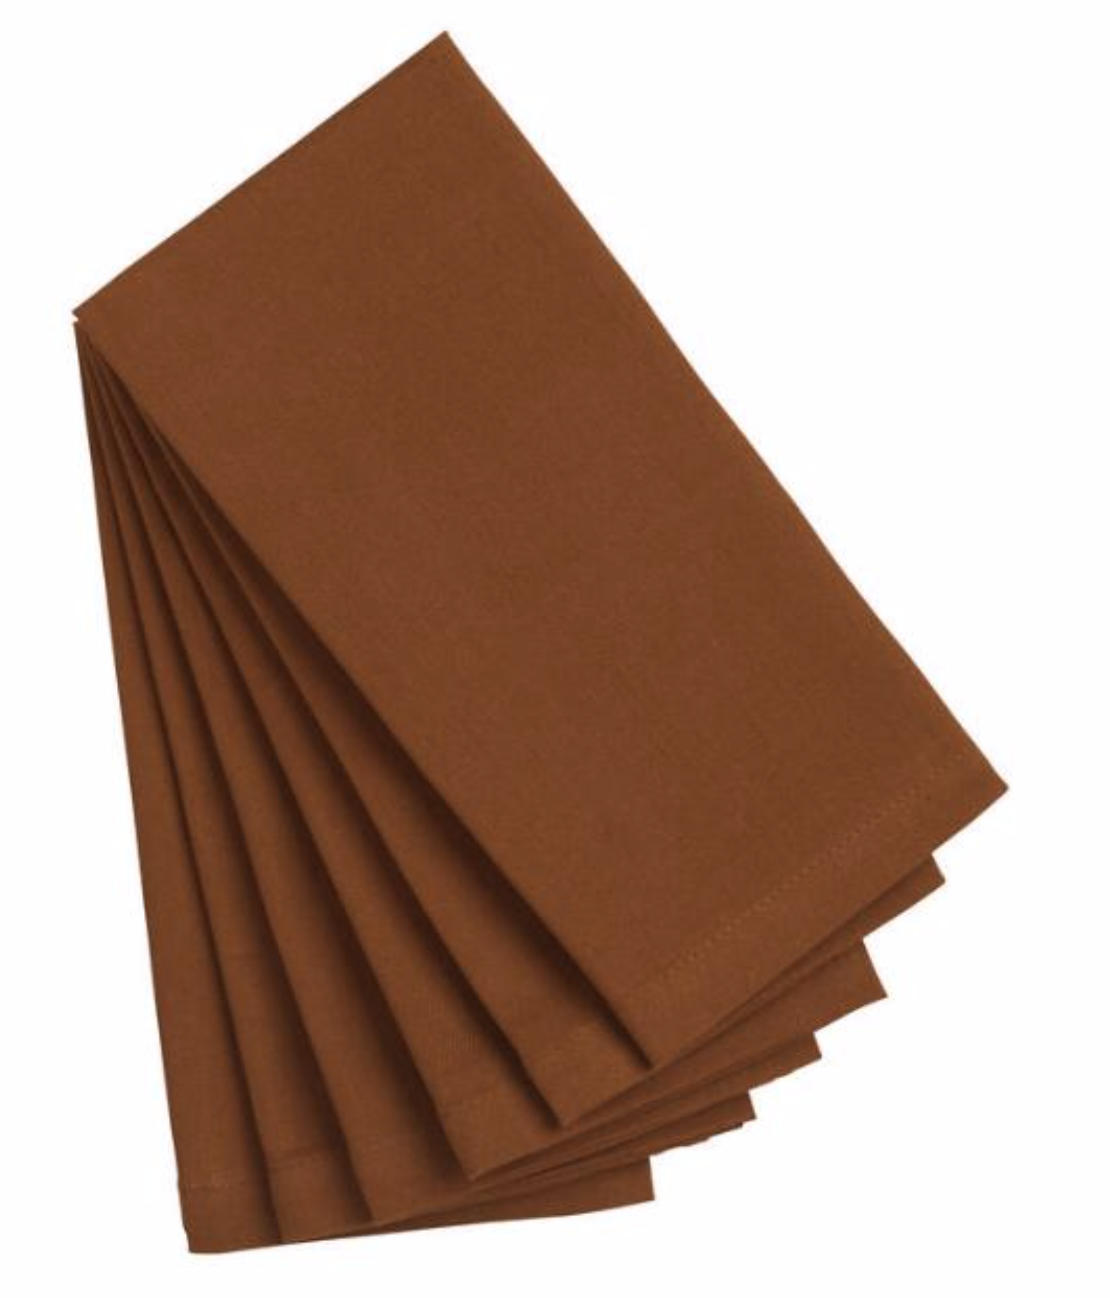
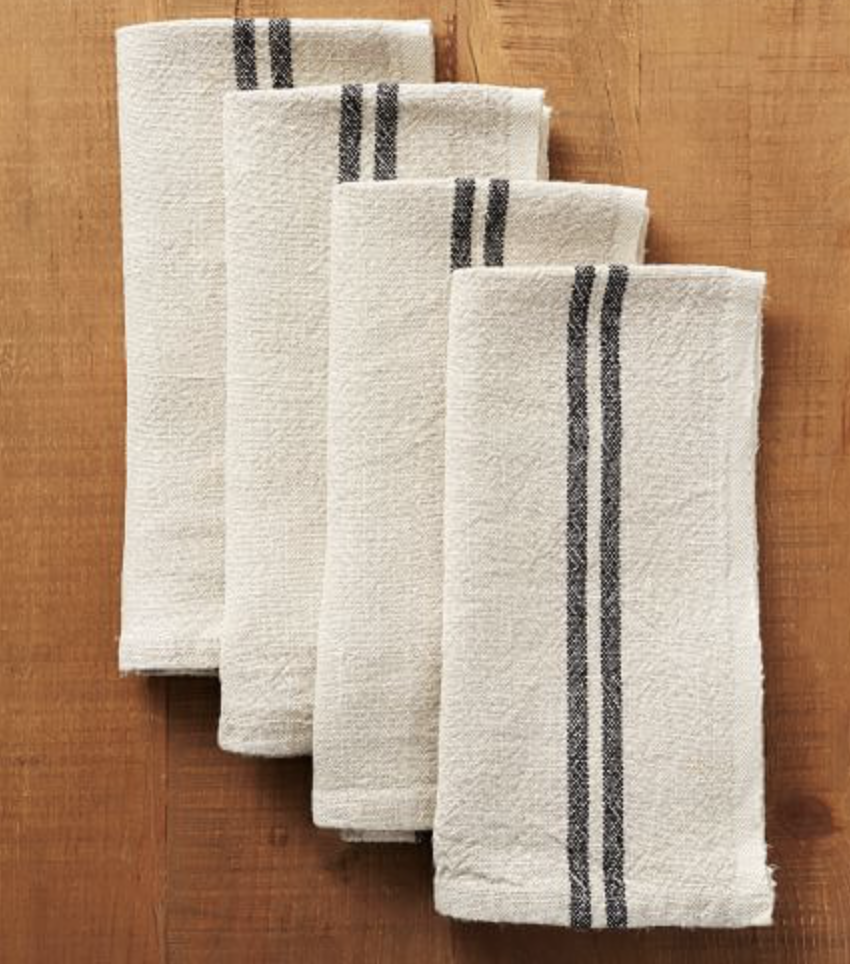
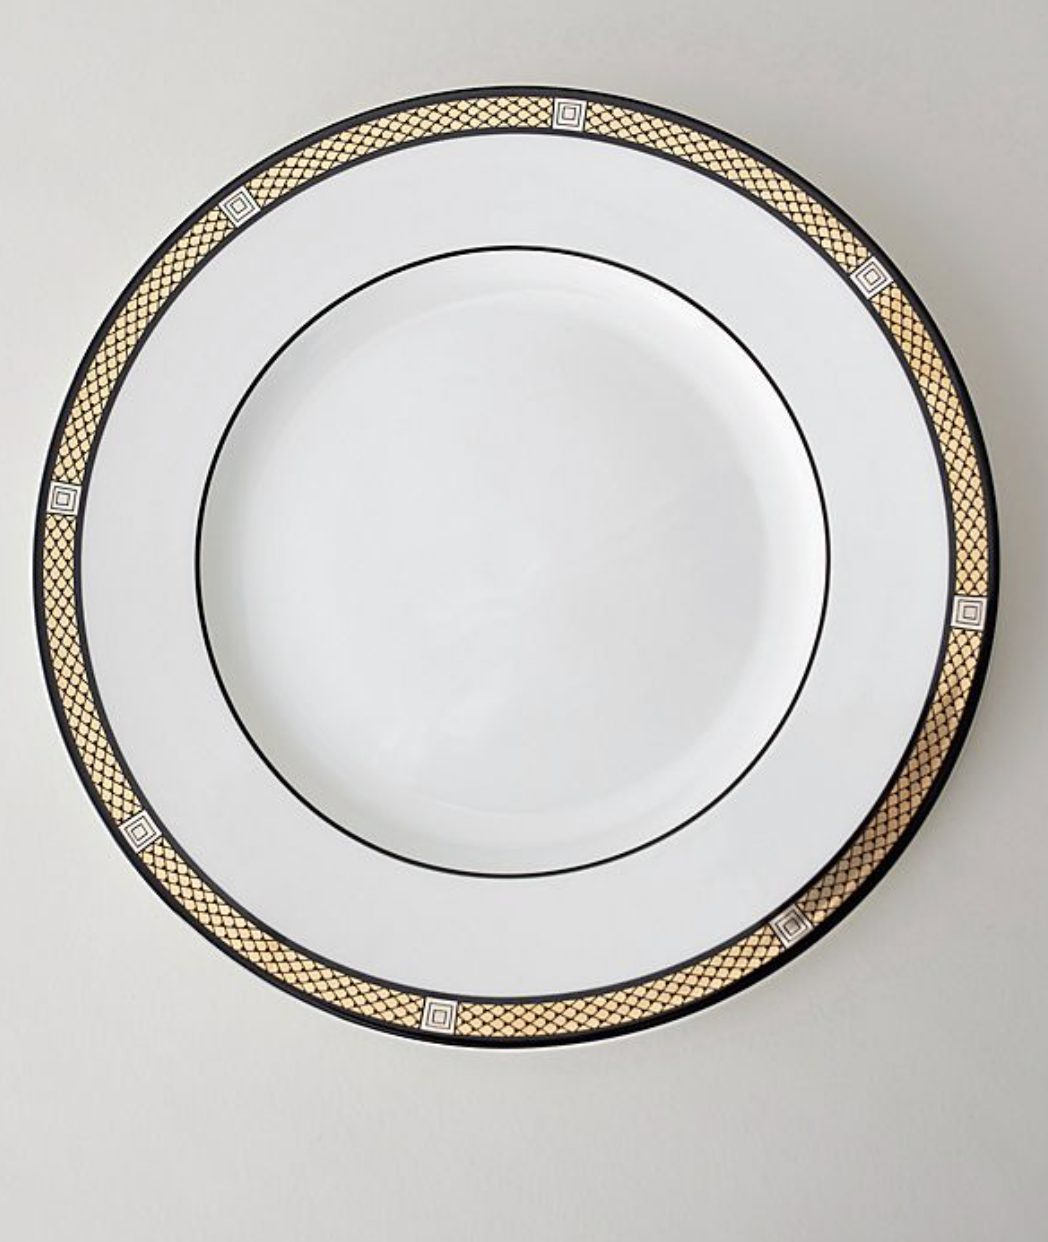
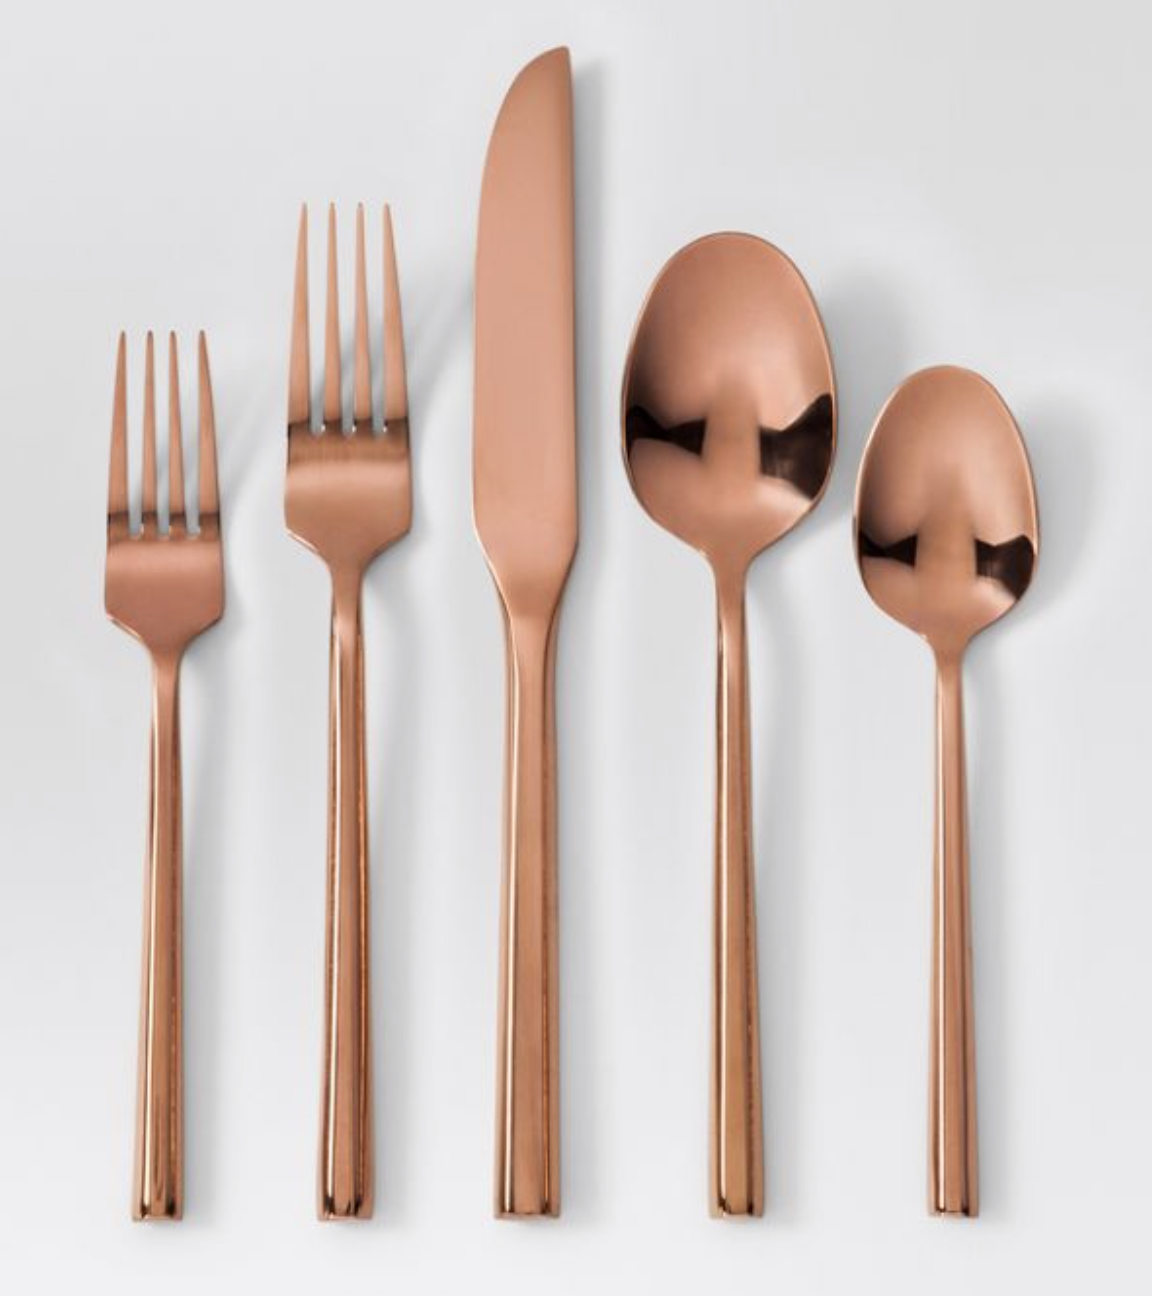
1// Rattan Placemat / 2// Gunmetal Silverware / 3//Napkins + Napkin Rings / 4//Black Glazed Dinner Plates / 5// Plaid Table Runner / 6//Faux Goldenrod Garland / 7//Amber Vase + Candle / 8//Candles + Candlestick Holders / 9// Mid-Century Dining Table Under $250


Step One - The Table Covering
Don’t over think this one. This can be a tablecloth, a table runner, or even placemats. This doesn’t have to be super complicated. However, the simple process of adding layers to the table make all the difference. Here are some great table cloth, runners, and placemats options for $20.


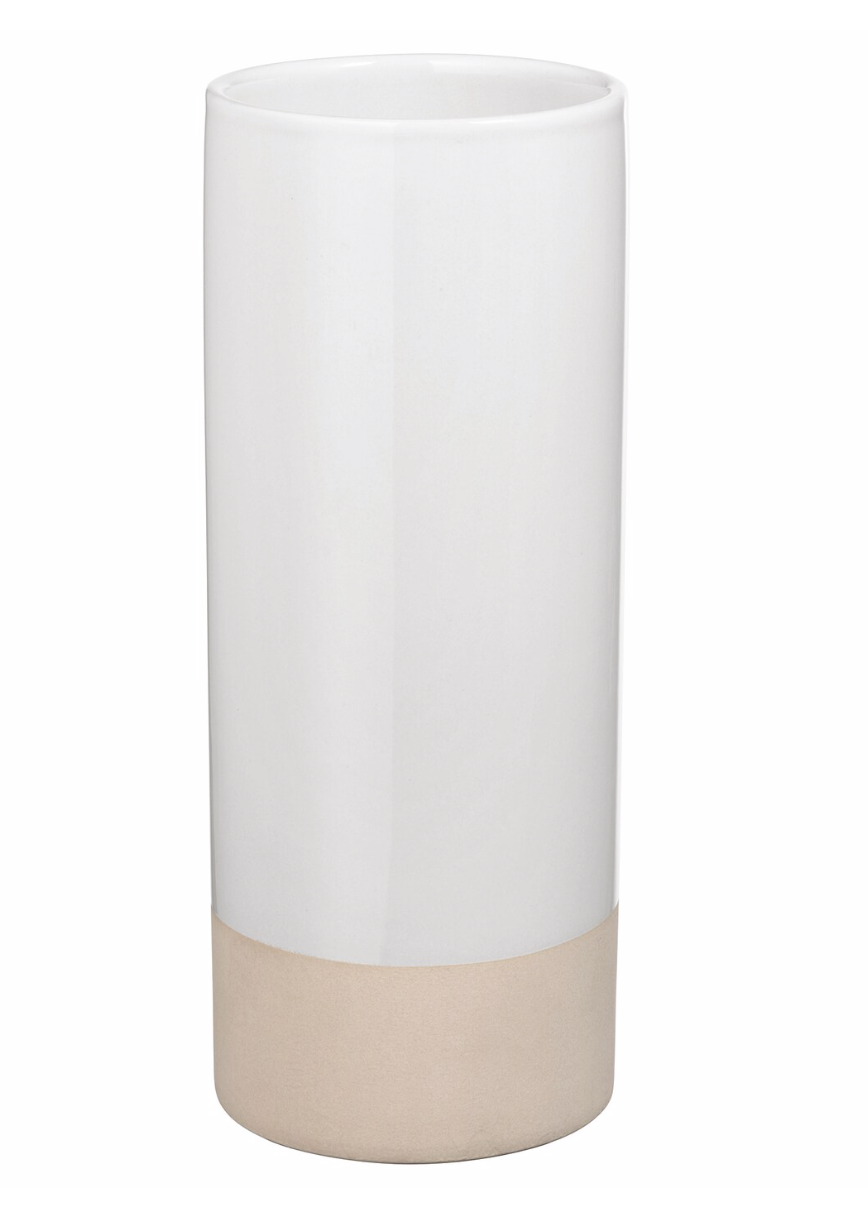
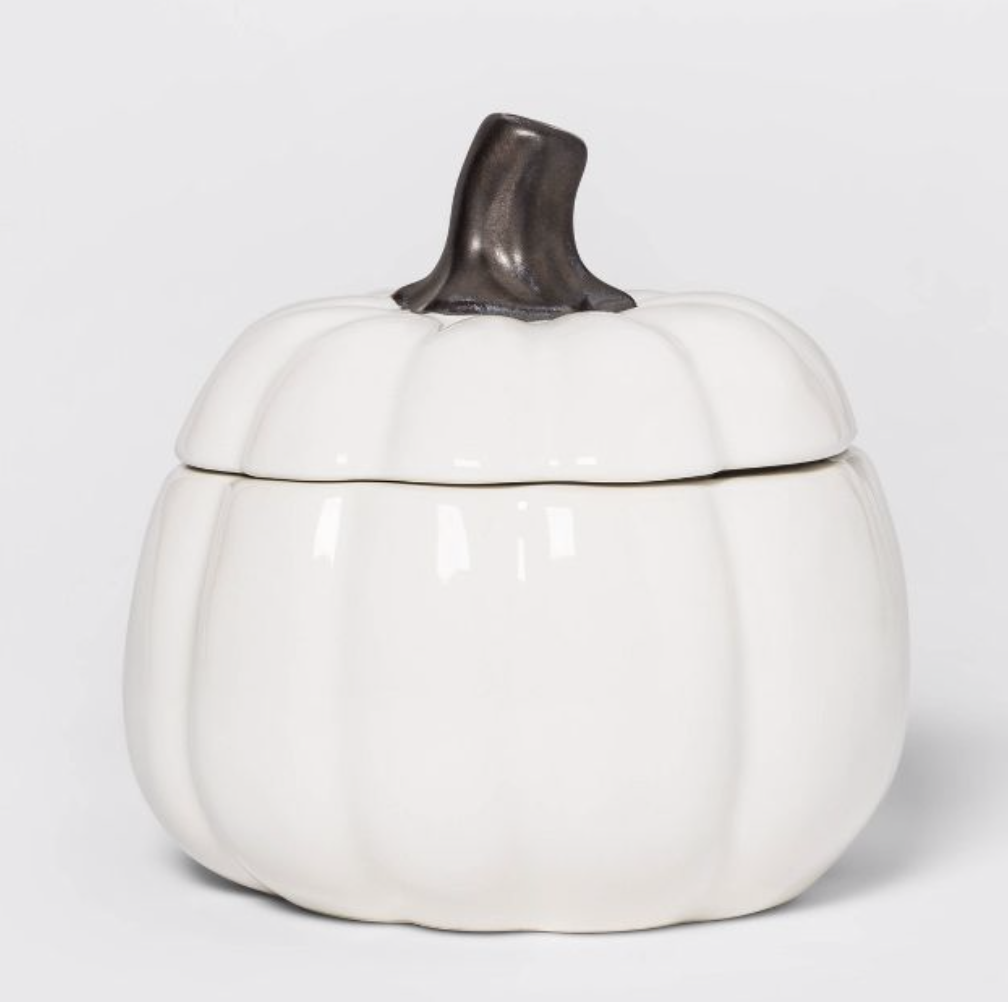
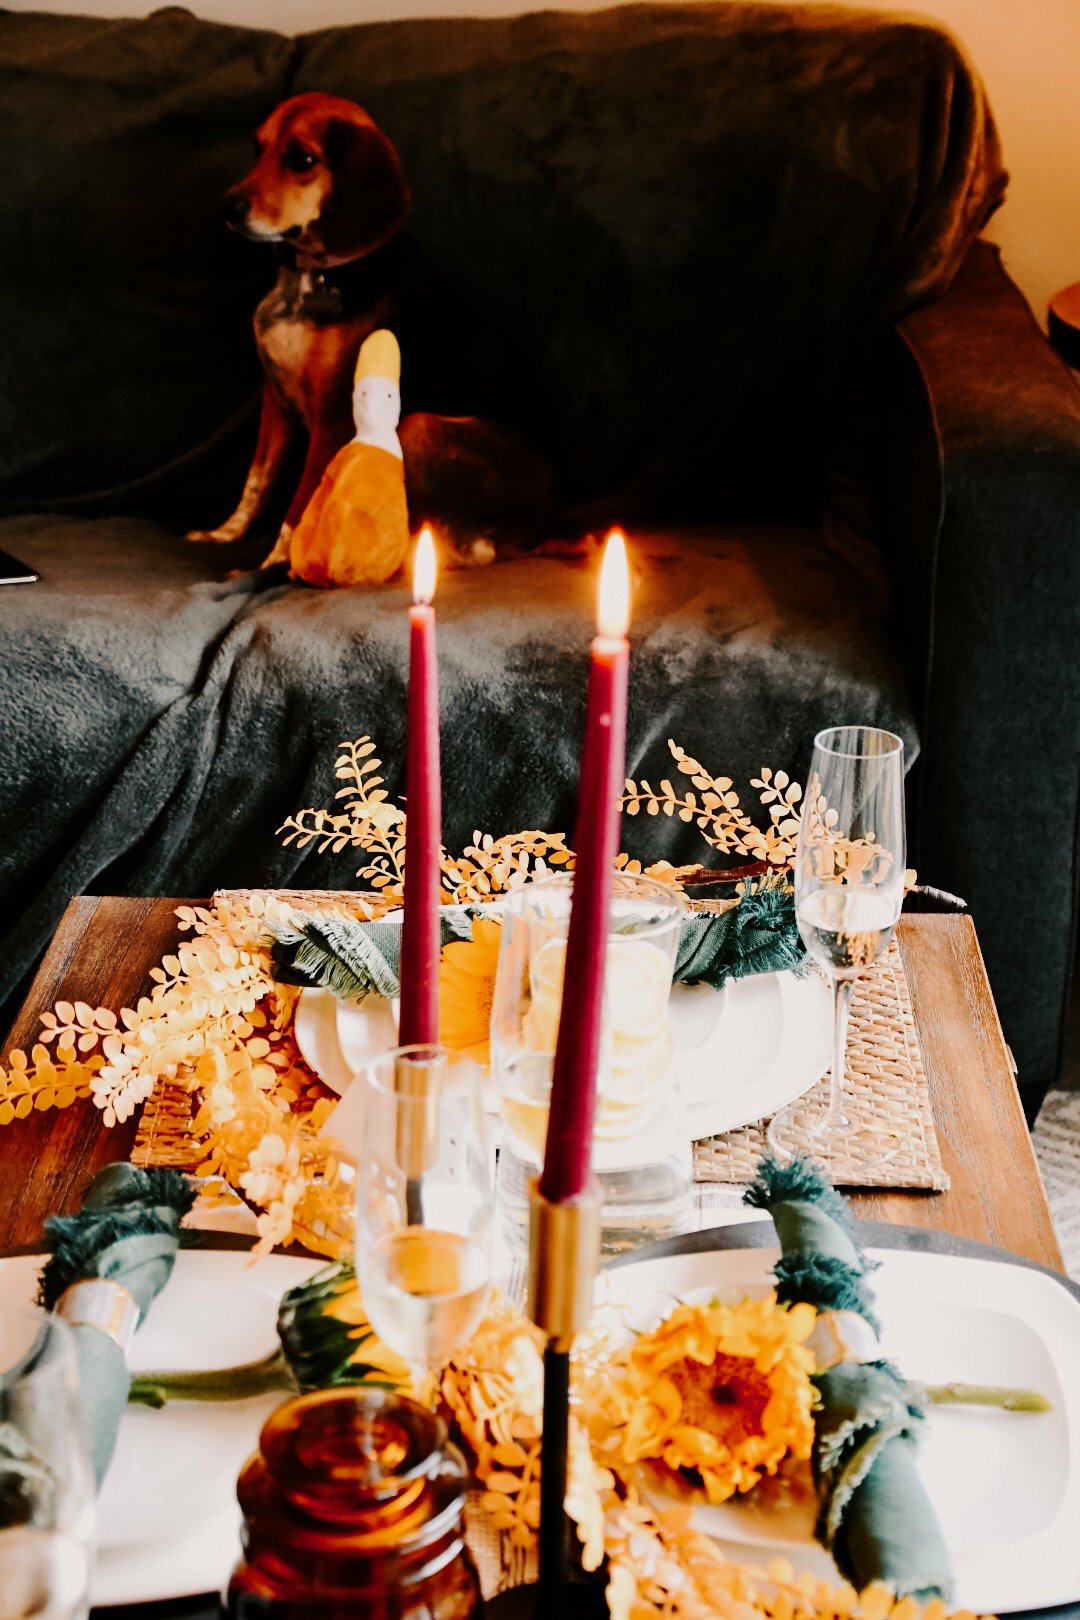
Step Two - The Center Piece
This is probably my favorite part of setting the table. Depending on your style, the center piece can be the most dressy, or casual piece of decor. The most important thing to remember is layers and scale. (hint: these are some of my favorite design tools to manipulate).
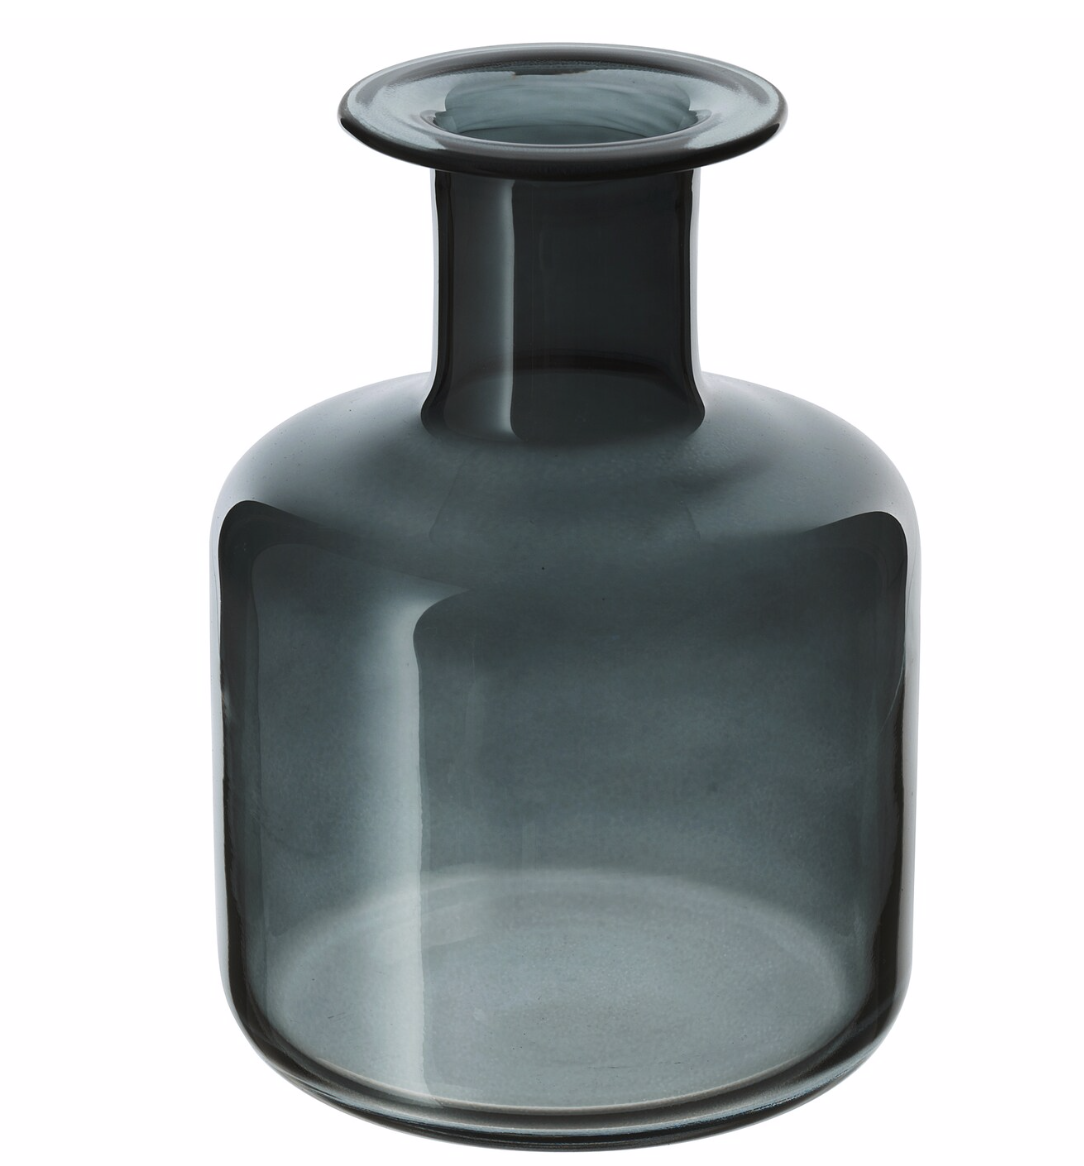
When I say layers and scale, what I really mean is this: have a series of 3-4 types of decor (florals, vases, sculptures, trinkets) all at different sizes. Then begin to assemble with taking into consideration the height and balance of it all. Trust me, you’ll get the hang of it…
My center piece for our Friendsgiving table was simply a couple of candles, two vases, and a large faux floral that spanned the whole table.


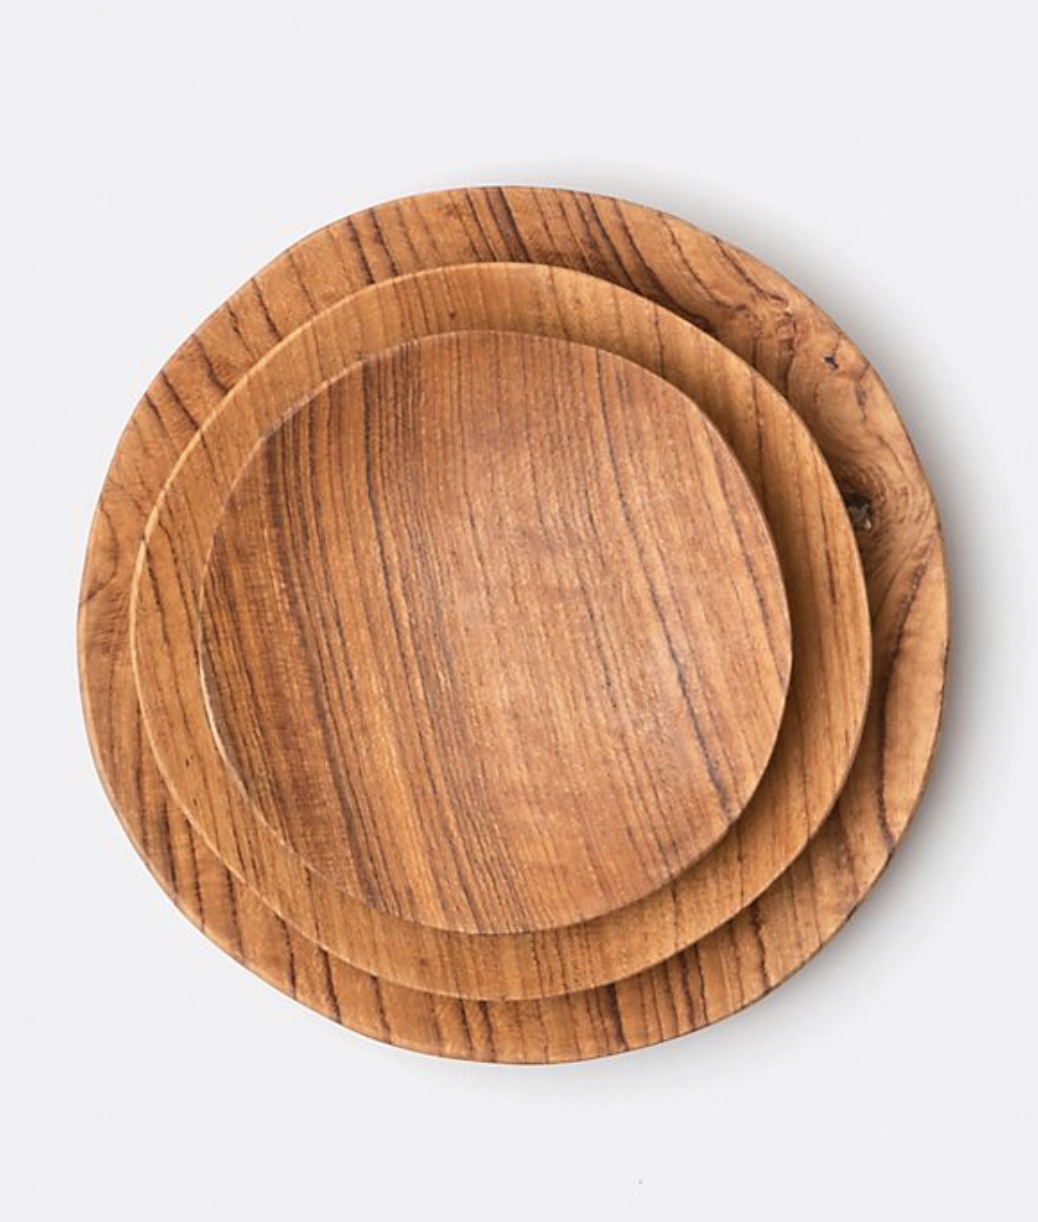
Step Three - The Place Settings
This should be the easiest part! Pick your favorite seasonal - or non seasonal plates and layer them accordingly. If you have room in between settings you can lay your silver on the table. Another trick is to fold your silver into the napkin.

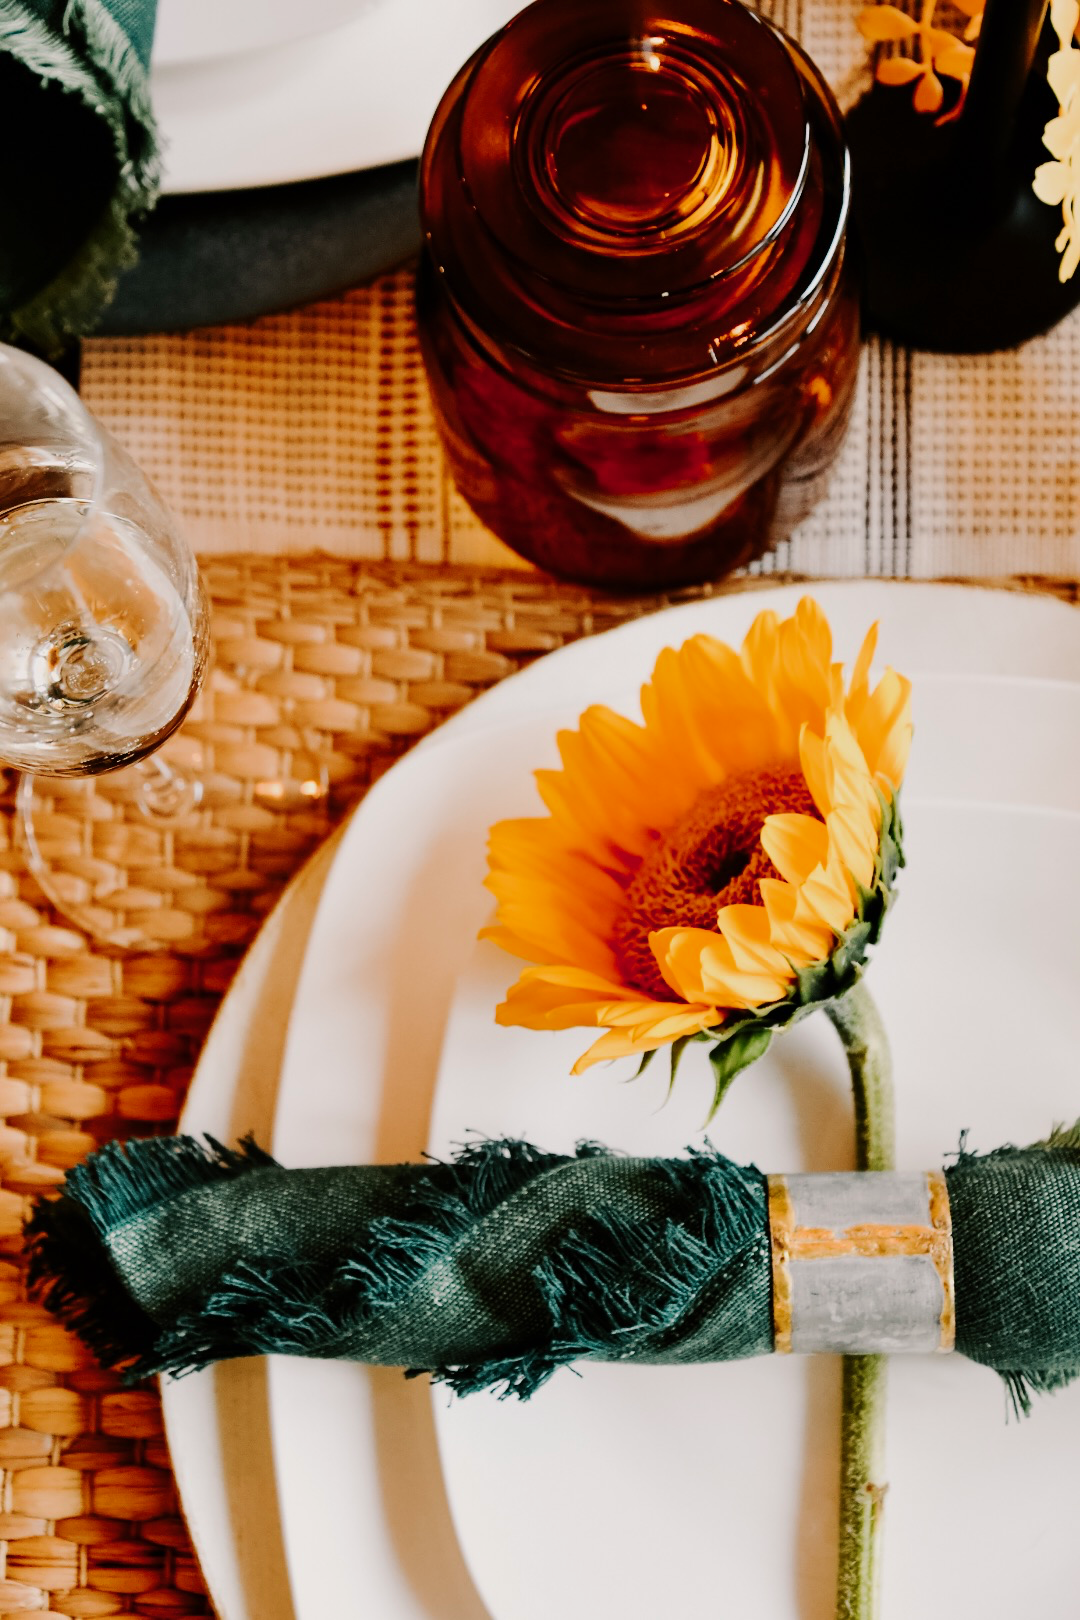
Finishing Touches
My favorite thing to finish off the table is to have a personalized item at each place setting. In this case, I put sunflowers at each setting. You could also have personalized name place cards.
Feeling inspired and want to take on these steps yourself? You’ve got this! Make sure to take photos for me to see and tag #snowstudiohome when you tackle your next Holiday table setting.
Last, but not least - Happy Holidays from all of us here at Snow Studio. We our holiday decorating tips help you have the best, and least stressful holiday season.
