HOW TO UPGRADE THE LOOK OF YOUR KITCHEN IN ONE EASY STEP
UNDER COUNTER LIGHTING
I’m about to share my biggest secret for how to upgrade your kitchen - all for under $50. This trick is SO simple, and requires only a drill and some screws to install. Are you ready……? The most effective, and cost friendly way to upgrade your kitchen is.. UNDER COUNTER LIGHTING!
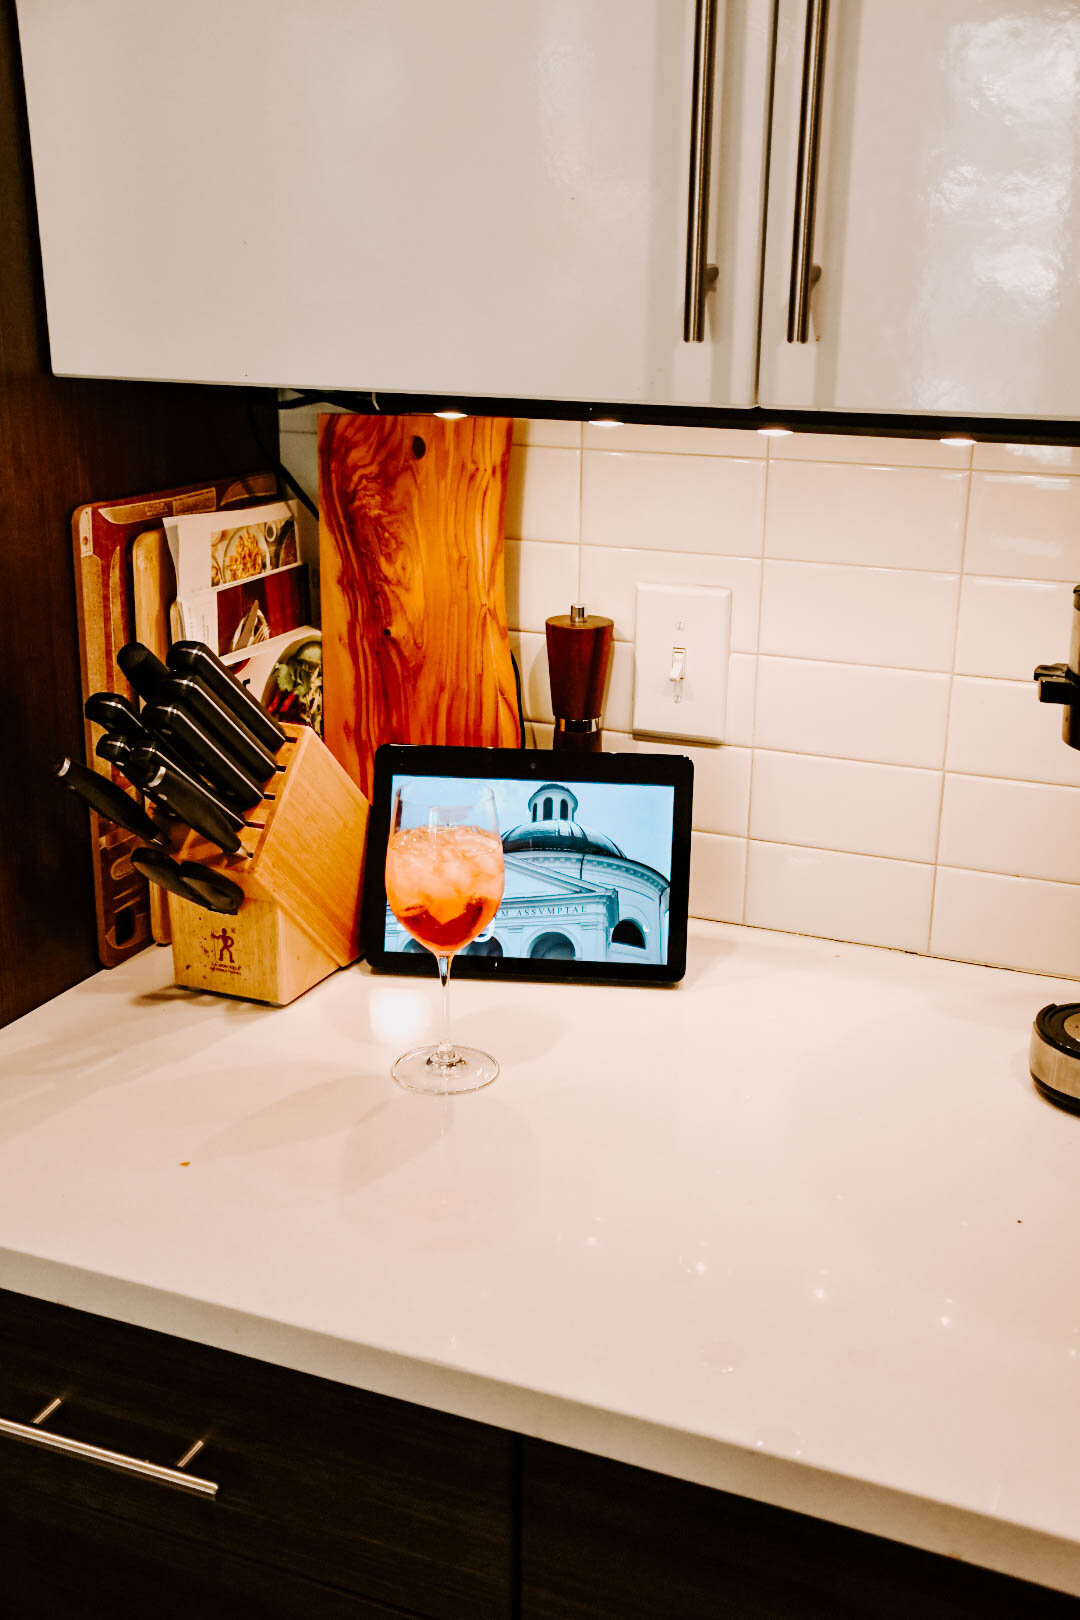
Yup, you heard me…lighting. If you are new here, you will soon learn that I love lighting and every way that it can transform a space. It is probably my biggest design trick. If you can manipulate lighting to work in your space’s favor, your space will ALWAYS look amazing. You’ll see here that using under counter lighting in your kitchen not only makes your kitchen look larger, but it also provides secondary task lighting in your kitchen.
Lights On
Lights Off
What is task lighting? Check it out in this post here. I did a whole break down of lighting terminology, color temperature, and different zones of lighting in this post here - you’ll want to read that first.
This is also my BIGGEST suggestion for anyone wanting to upgrade the look of their kitchen on a budget. Just look at the before and after here! We rent our apartment, and the under counter lighting makes the space look and feel so much more custom and high end - even though our kitchen cabinetry is from IKEA.
The Basics
When looking for under counter lighting there are a TON of options. Just from a functionality stand point you have plug in options, battery operated, and even remote control and motion detecting options. Of course, there are pro’s and cons of each. We went with a plug in version because I never have batteries on hand. If you are worried about the plug showing, you can hide the plug in a smart way behind a cutting board or a knife set. If you don’t have a plug near by, the battery operated version will work fine, just be aware that some of them will go out faster than others. This will create a spotted lighting look.
Picking the Right Style
You also have different styles of lights. There are puck options (individual little lights), strip options, or multiple lights in one casing unit (this is what we have). We chose to go with the later of these option because I really like the effect of multiple down lights instead of one continuous strip of light. Here’s an example comparing multiple under counter down lights to one continuous strip. No right option here, just make sure you know what you are getting! I also wanted to be able to turn all of the lights on and off with one switch. If you have multiple puck lights you’ll have to turn them off individually.
Selecting the Right Temp.
Let’s talk about color temperature! My favorite topic! If you are curious what this is, you really should go read the break down of it in the post here. You may have heard my rant before, but I always use 2700K for all ambient lighting, and 3000K for all task lighting. Our lights here are at 3000K because this lighting is more “task” oriented. Our lighting unit also has a 2 way switch that controls the dimming levels of the light. I always keep it half dim (note, this doesn’t change the color of the light, just the intensity of the light).
I can’t wait for you guys to utilize this easy trick to completely upgrade and transform your kitchen!


