3 FOOLPROOF WAYS TO HANG THE PERFECT GALLERY WALL EVERY TIME

THREE STEP-BY-STEP GUIDES
to hang the perfect gallery wall
We all know and love the look of a gallery wall. They are the perfect way to add texture to your wall, display family photos, or display your new favorite artwork. However, have you ever tried to hang a grid style gallery wall only to find that one picture is slightly off? Today we’re sharing three of our top fool-proof ways to hang a perfect gallery wall every time.
CREATE YOUR OWN TEMPLATE
Grab any large piece of paper, cardboard, or even the stock photo that comes with your frame to use as a template. It doesn’t need to be the full size of your frame (it will be easier if it is).
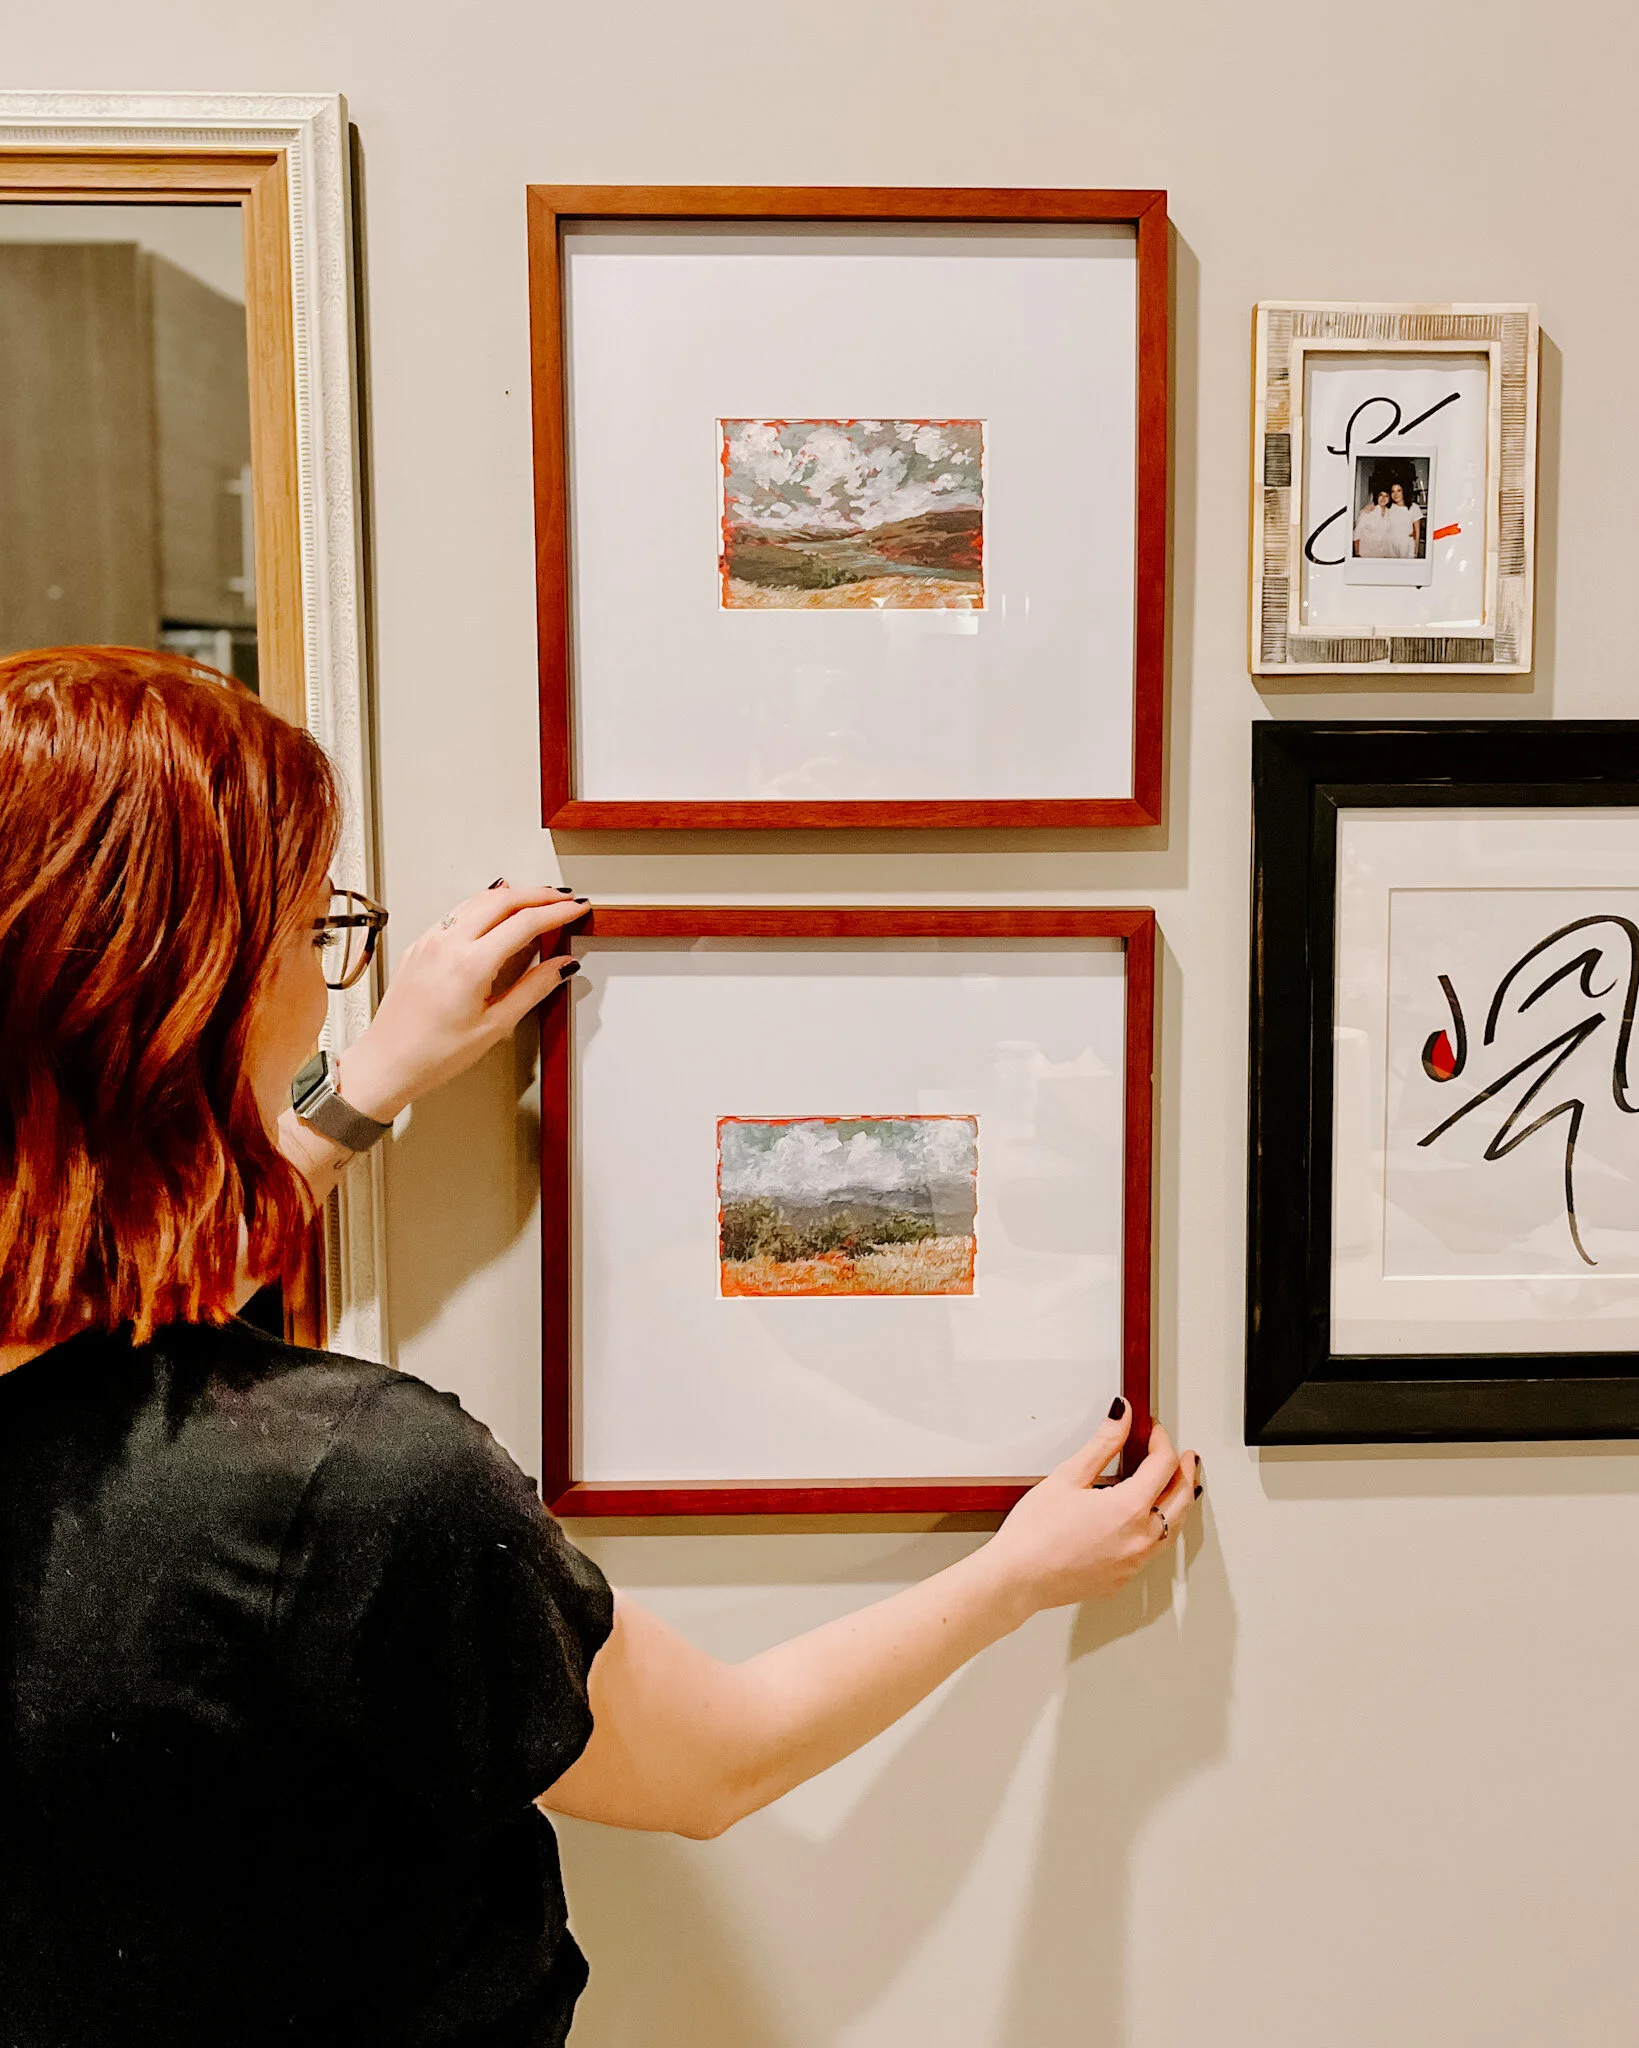
Flip your frame over, and align your template paper with the top edge of your frame.
Mark where the D rings are on your template. Also mark the center line between the D rings.
Lay out your gallery wall on the floor, and measure center to center of each picture.
Start taping your templates onto the wall using that CENTER to CENTER measurement to space them out. Make sure all of your templates are aligned and level. You will want a good level and measuring tape for this step.
Hammer in nails on the marks you made THROUGH your taped up template on the wall.
Rip off your template paper, and you have perfectly aligned nails to start hanging!


WONDERING WHAT TO PUT IN YOUR NEW GALLERY WALL?
In this post I’m sharing my favorite affordable fine art prints - all of them begging to be featured in your new gallery wall….
A DIFFERENT USE FOR PAINTER’S TAPE
Roll out a piece of painters tape on the back of your frame - make sure your tape is spreading the full width of your frame
Align the painters tape with the nail holes on the back of each frame
Cut holes or mark with a pen where your nail hole will be on your painters tape
Tape up your marked painters tape on the wall where you want each frame to hang.
One thing to keep in mind here is that your painters tape is only marking the width of each frame. You will need to do some other measurements or guessing for the vertical spacing of your painters tape if you plan to have multiple frames aligned on top of each other.

USE THAT LEFTOVER WRAPPING PAPER
Roll out unused packing or wrapping paper on the floor
Lay your gallery wall out on top of the paper on the floor
Trace each frame onto your paper
Measure and mark where each nail hole will be on each frame onto the paper
Tape the paper template up onto the wall
Hammer in the nails at each marked nail point through your paper template
Rip off the template and hang your frames!

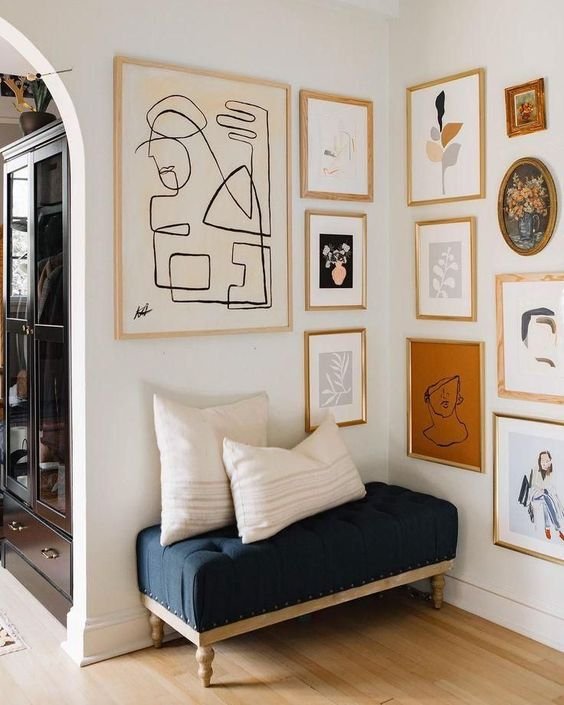
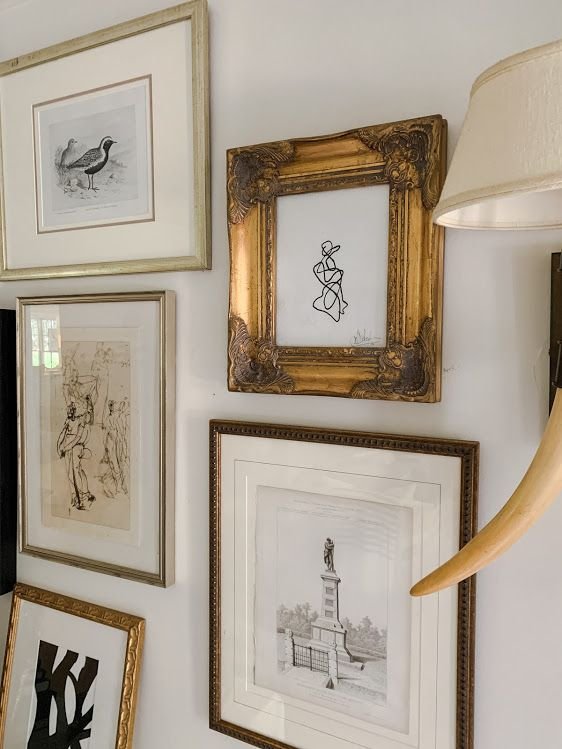
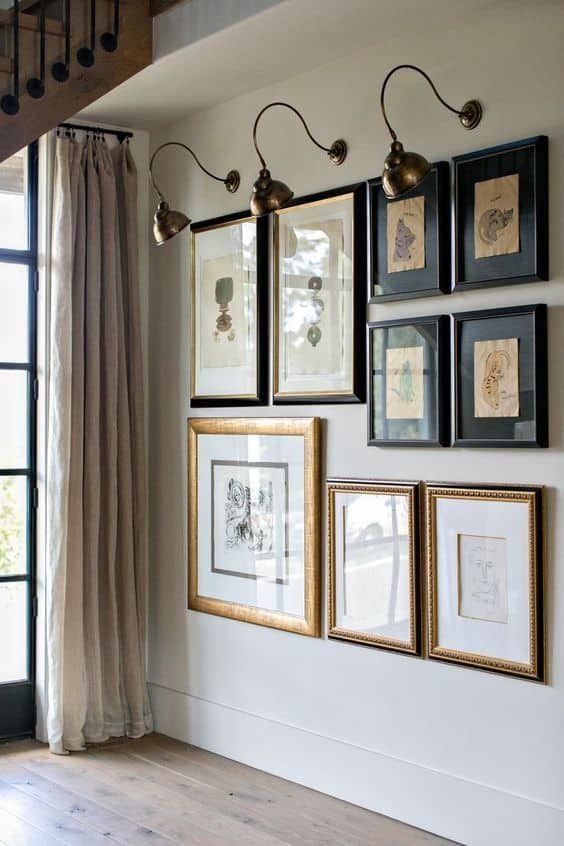
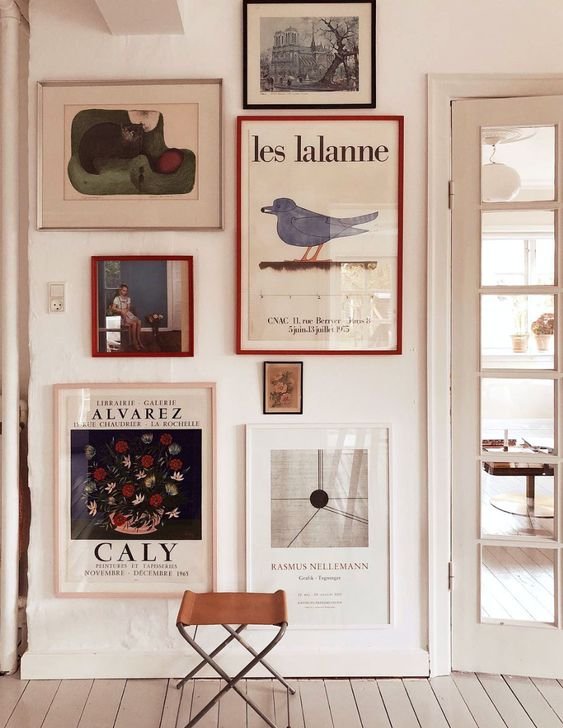
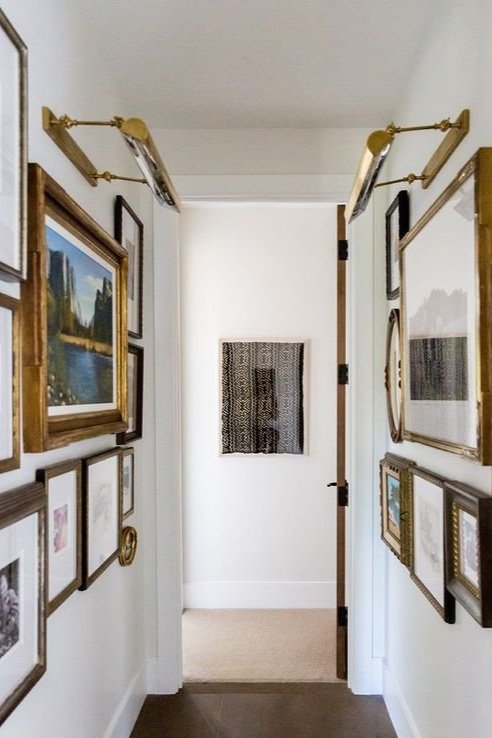
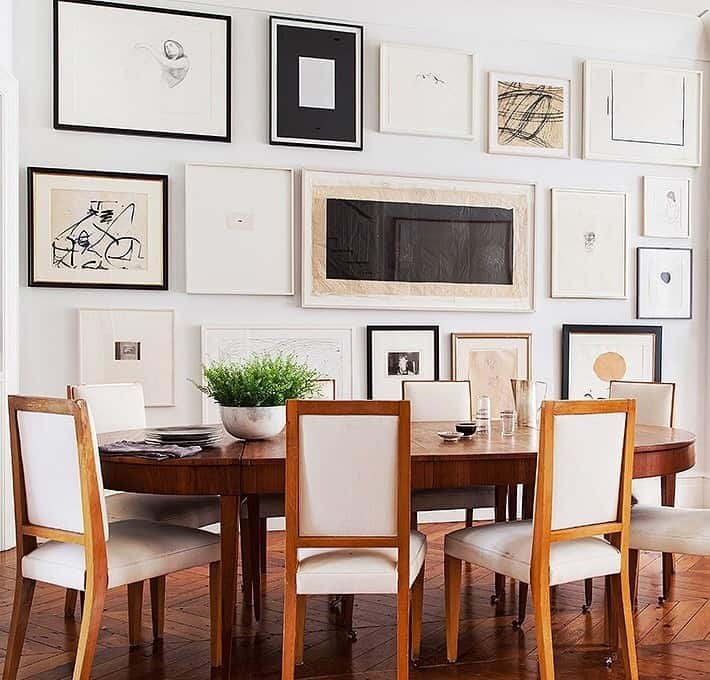
LOOKING FOR A MORE LAYERED APPROACH?
Recently I’ve been inspired by gallery walls that have all different frame styles mixed together. This approach is much more casual and layered than the classic grid style gallery wall layout. Plus, you don’t have to worry about hanging things perfectly aligned. My biggest challenge with this layered style gallery wall is where to find high quality frame styles. Enter - my picture frames. My Picture Frames is a great source for affordable, custom size frame options with multiple different frame and matting styles. Even better? You can order samples of the different frame styles to see at home before placing your order. Once you have all you different frame styles selected you can scheme up a mixed media style gallery wall like one of these below.

Rachael is an Atlanta based design and lifestyle blogger. Aiming to bring tips to help your every day life feel a little more luxurious.
CHECK OUT OUR RECENT POSTS: